The Room of Requirement is one of Hogwarts Legacy’s most transformative features, turning you from a student fumbling through dungeons into a proper wizard with a personalized base of operations. It’s not just a room, it’s your hub for crafting, upgrading, brewing potions, and storing loot. But getting there? That’s where plenty of players get stuck. This guide walks you through exactly where to find it, how to access it, and what makes it worth hunting down.
Table of Contents
ToggleKey Takeaways
- The Room of Requirement location is on the seventh floor of the castle near the Defence Against the Dark Arts classroom, accessible by walking back and forth in front of a blank stone wall three times in succession.
- Unlocking the Room of Requirement requires completing Sebastian Sallow’s friendship quests and progressing through the main story, after which the entrance will materialize as a wooden door.
- The Room of Requirement serves as your personal crafting and upgrade hub, featuring a loom for gear upgrades, a potion brewing station, plant growing, and customizable decorations.
- After your first visit, fast-traveling to the Room becomes available on your map, eliminating the need to repeatedly walk the castle halls and saving significant time during gameplay.
- Prioritize upgrading gear at the loom and brewing potions before expanding decorative elements, as these upgrades directly impact your combat effectiveness against challenging encounters.
- Batch your crafting tasks and stock potions before difficult dungeons to optimize your workflow and maximize the Room of Requirement’s strategic benefits.
What Is The Room Of Requirement In Hogwarts Legacy?
The Room of Requirement is a hidden chamber that appears only when you need it, or in this case, when you’ve earned the right to access it. Think of it as your personal wizard’s workshop and armory combined. Players use it for everything: upgrading gear, brewing potions, growing plants, storing collections, and customizing the space to their liking.
What makes it special is the freedom it grants. Unlike shops scattered across Hogsmeade or the castle, the Room of Requirement puts all essential crafting stations under one roof. You won’t waste time fast-traveling across the map to find a cauldron or loom. The room adapts to what you unlock, gradually filling with tables, brewing stations, and decorative elements that reflect your playstyle.
How To Unlock The Room Of Requirement
Main Quest Progression Requirements
Unlocking the Room of Requirement isn’t locked behind a single quest, it’s tied to progressing through the main story and meeting specific conditions. Most importantly, you need to reach a certain point in Sebastian Sallow’s relationship quest line.
Here’s what you actually need to do:
-
Progress the main story until you reach the point where in-world events allow the Room to exist narratively. This happens naturally as you play through core quests.
-
Build your relationship with Sebastian Sallow by completing his friendship quests. These side quests deepen his character arc and are essential for Room of Requirement access. You’ll want to spend time with Sebastian and follow his storyline all the way through.
-
Complete the Room of Requirement introduction quest once you’ve met the prerequisites. Sebastian will eventually mention the Room and guide you toward it during one of his quests. This triggers the unlock.
The game won’t hand you a marker on the map saying “go here.” Instead, Sebastian directs you in dialogue, and you need to listen carefully or check your quest log. If you’ve progressed far enough but haven’t visited the Room yet, check your active quests to see if there’s a related objective waiting.
The Exact Location Of The Room Of Requirement
Finding The Entrance On The Seventh Floor
The Room of Requirement entrance is located on the seventh floor of the castle’s Grand Staircase area. Specifically, you’re looking for a stretch of wall on the seventh floor that’s ordinarily blank and unremarkable. It’s in the corridor past the Defence Against the Dark Arts classroom, head toward the back area of that hallway, and you’ll find a section of wall that will eventually become the entrance.
The entrance doesn’t exist as a visible door initially. Instead, there’s a section of bare stone wall that blends in with the rest of the castle architecture. This is intentional, the Room only appears when needed, and the entrance remains hidden to casual observers.
Navigating The Hallway
Once you know the general area, the trick is actually triggering the entrance to appear. You can’t just walk up and open a door. Instead, the Room requires you to approach the wall with intent, specifically, by walking back and forth in front of it in a deliberate pattern.
The hallway outside the Room can be confusing if you’re not expecting it. Look for suits of armor, tapestries, and other castle décor that clue you in that you’re in the right area. The wall is smooth, unadorned stone, nothing about it screams “secret room,” which is the point. You might pass it multiple times before realizing it’s the entrance.
Platform note: This location is consistent across PC, PlayStation 5, and Xbox Series X
|
S versions. The seventh floor is always accessible once you’ve progressed far enough in the story, and there are no platform-specific variations in how you access the Room.
How To Access The Room Once You’ve Located It
The Walking Pattern Requirement
This is where the Room of Requirement gets its mystique. Simply standing in front of the wall won’t work. You need to walk back and forth in front of the entrance three times in succession. The pattern matters, you’re walking parallel to the wall, moving in the same direction each time.
Here’s the precise method:
- Stand facing the wall where the Room entrance is hidden.
- Walk slowly and deliberately down the hallway, passing the wall.
- Turn around and walk back, passing the wall again.
- Turn around once more and walk past it a third time.
- After three passes, pause and face the wall.
The entrance will materialize as a wooden door with brass handles, the iconic Room of Requirement door design. Walk forward and interact with it to open it and enter the Room.
Timing matters slightly here too. Don’t sprint or you might miss the prompt. Walk at a steady pace, and make sure you’re actually passing the correct section of wall. If nothing appears after three passes, you might be at the wrong spot or haven’t met the unlock requirements yet.
Alternative Methods To Enter
Once you’ve discovered the Room once, accessing it becomes easier. You don’t need to repeat the walking pattern every single time after your first visit.
After the first entrance, the Room becomes a fast-travel point. Open your map and look for the Room of Requirement icon, it’s a distinctive marker that appears once you’ve accessed it. Simply fast-travel directly to it rather than physically walking through the castle.
This is huge for quality-of-life. Instead of navigating to the seventh floor repeatedly, you can jump straight to your Room from anywhere in the castle or the grounds. This streamlines your workflow when you need to quickly brew a potion, upgrade gear, or store loot before heading back out into the world.
Room Of Requirement Features & Benefits
Customization Options Available
The Room of Requirement is yours to shape. As you progress, you unlock decorative elements, plants, and functional stations that you can place but you want. This isn’t just cosmetic, it affects your mood as a player and makes the space feel genuinely personal.
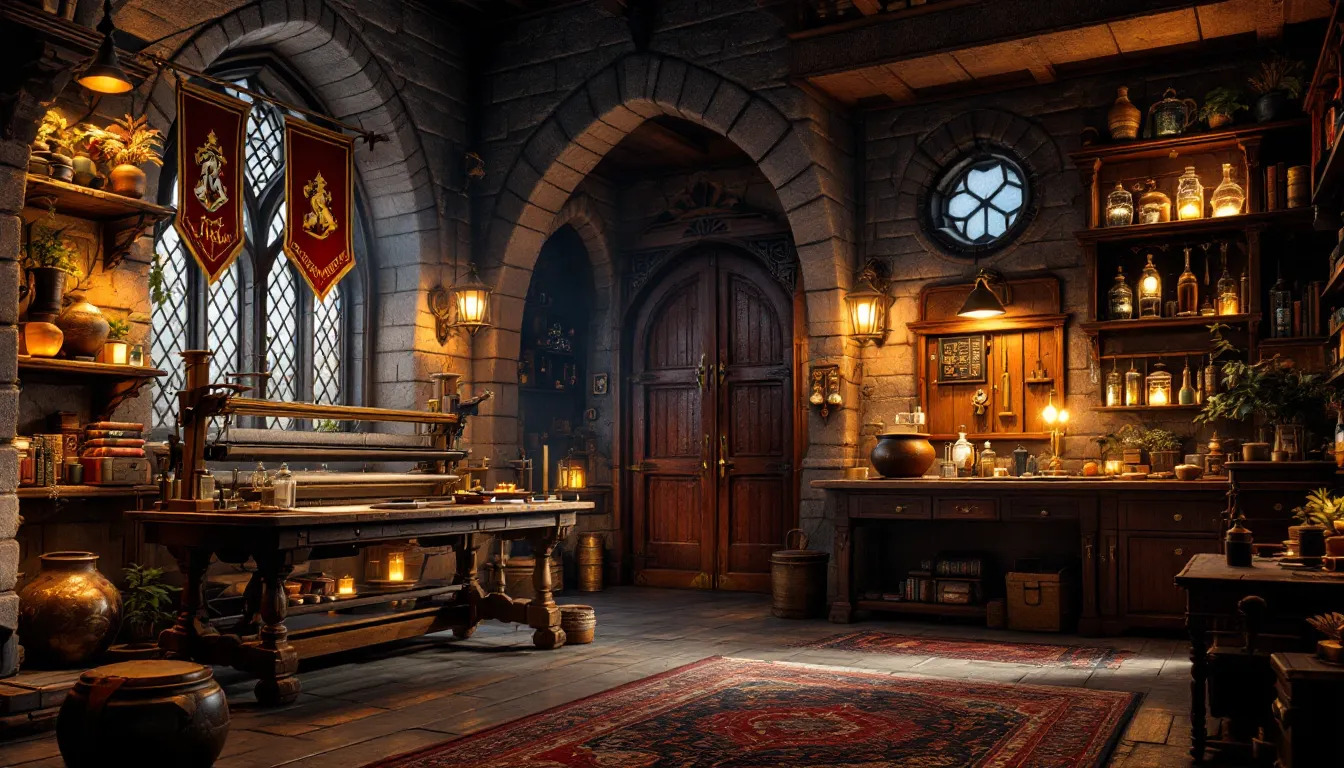
You can position crafting tables, cauldrons, and shelving units around the room. There are themed decorations (Gryffindor banners, dark academia shelves, cozy furniture) that let you express your house affiliation or personal style. Some players create organized, minimalist setups: others go for a chaotic “collected everything” aesthetic.
The customization system is straightforward: interact with items on the menu, select “place,” and position them on the floor. You can move things around infinitely, so there’s no penalty for experimenting.
Gear Upgrades & Crafting System
The loom in the Room is where you do virtually all your gear upgrades. You craft gear pieces, upgrade existing equipment, and transmute items here. The system uses materials you’ve gathered throughout the game, ashwinder eggs, lacewing flies, demiguise earwigs, and more.
Having all upgrades in one place saves immense time compared to running between NPCs. You can manage your entire loadout without leaving the room. This is essential for min-maxing your build or optimizing for specific encounters.
The crafting options include:
- Robe upgrades – Improve defense, spell power, or special effects
- Wand customization – Adjust your wand design and stats
- Accessories – Rings, necklaces, and other pieces with passive bonuses
- Transmutation – Convert one item type into another for flexibility
Each piece can be upgraded multiple times, and Hogwarts Legacy: House Robes provide additional cosmetic customization alongside stat improvements.
Potion Brewing Station
The potion brewing cauldron is your gateway to high-level potions. Brewing potions in the Room produces them at quality tiers that match your proficiency level. Higher-quality potions provide stronger effects and longer durations.
You can brew healing potions, damage-boosting potions, stealth potions, and status-effect resistance potions. Each one requires specific ingredients and brewing time. Unlike real-time brewing, you can simply craft multiple potions and keep them stocked.
Brewing also levels up your herbalism and potion-making skills, which unlocks new recipes and higher-tier potions. This creates a feedback loop: better skills = better potions = more effective combat encounters.
Common Issues & Troubleshooting Tips
Can’t Find The Entrance?
If you’ve progressed the story and unlocked the Room but can’t find the entrance, check these things first:
Wrong floor or hallway: The entrance is specifically on the seventh floor near the Defence Against the Dark Arts classroom. Use the Grand Staircase to navigate precisely. If you’re on the fifth or sixth floor, you’ve gone the wrong direction.
Entrance trigger not activating: The wall where the Room appears is unmarked. If the walking pattern isn’t working, you might be facing the wrong section of wall. Move a few steps in either direction and try again. The correct spot is in the corridor area past the classroom entrance.
Not yet unlocked: Double-check that you’ve completed the necessary Sebastian Sallow quests. If his questline hasn’t progressed far enough, the Room won’t appear no matter what. Check your quest log to see where you are in his story.
Room Won’t Appear Or Door Won’t Open
After attempting the walking pattern, if the door still doesn’t appear, the most common cause is that you haven’t actually unlocked it yet. The game is usually clear about this, check if you have an active quest related to the Room or Sebastian.
If the door appears but won’t open when you interact with it, try these steps:
- Save your game and reload the save. Sometimes UI elements bug out.
- Restart your console or PC. If the previous step doesn’t work, a full restart often clears stuck states.
- Verify game files on PC (Steam or Epic Games) to ensure nothing’s corrupted during installation.
- Check patch version. Make sure your game is fully updated to the latest patch. Hogwarts Legacy has received multiple balance and bug-fix patches since launch, and an outdated version might have legacy bugs that’ve since been fixed.
If you’re still stuck after these steps, your save file might have a progression blocker. Try completing other main quests or progressing Sebastian’s storyline further, sometimes the Room unlock depends on additional story beats beyond just visiting the seventh floor.
Maximizing Your Room Of Requirement Experience
Essential Upgrades To Prioritize
When you first unlock the Room, you’ll need to decide which stations and upgrades matter most to your playstyle. Here’s what actually moves the needle:
Gear crafting and upgrading should be your first priority. The loom directly impacts your combat effectiveness. Prioritize upgrading your main outfit and wand before anything else. Every stat point in spell power or defence is a multiplier that affects every encounter going forward.
Potion brewing comes next. Having reliable access to healing potions, strength potions, and defensive potions is a game-changer for challenging encounters. Don’t sleep on this station. With potions active, you can tank or nuke enemies significantly better.
Plant growing is third-tier priority. Growing plants like moonstone, fluxweed, and ashwinder eggs ensures you have material reserves. You won’t feel material-gated if you’re actively growing ingredients. This is quality-of-life over immediate power.
Decorations and cosmetics can wait. They don’t affect gameplay, though if the aesthetic motivates you, go for it, player motivation matters.
Time-Saving Tips For Frequent Users
Once the Room becomes your routine stop, optimize your workflow:
Fast-travel directly into the Room. Don’t walk through the castle. Every second counts when you’re trying to craft before heading back to dungeons. The map icon appears after your first visit, use it.
Batch your upgrades. Don’t visit the loom five times for five different items. Gather all your materials first, then spend one session upgrading everything at once. This minimizes load times and menu navigation.
Keep the Room organized. If crafting and brewing stations are positioned logically, you move faster. Place the loom near the entrance, the cauldron beside it, and storage elsewhere. This reduces the mental friction of the space.
Stock potions before difficult encounters. Don’t wait until you’re in a boss fight to realize you’re out of healing potions. Brew a batch of five or six before tackling marked dungeons or legendary enemy encounters. The preparation phase is part of good planning.
For context on optimization, how to use Floo Powder in Hogwarts Legacy provides additional fast-travel knowledge that pairs well with Room access. Similarly, exploring Hogwarts Legacy mini games teaches you how other systems work that feed into your Room upgrades, collected coins and resources eventually stock your shelves.
If you’re struggling to gather materials, Hogwarts Legacy treasure maps point you toward hidden caches that contain crafting components. And for those seeking every piece of gear, how to open eye chests in Hogwarts Legacy unlocks additional cosmetics and equipment.
When you’re ready to test your upgrades, Depulso Room 2 serves as an endgame challenge that rewards optimized gear and potions. Planning your Room setup with these encounters in mind ensures you’re building toward actual challenges rather than purely cosmetic improvement.
Conclusion
The Room of Requirement transforms Hogwarts Legacy from a spell-casting adventure into a proper wizard’s journey. You’re not just learning magic, you’re building your base, upgrading your arsenal, and planning for bigger challenges. Finding it requires patience and precise navigation, but once you unlock it, the payoff is immediate and substantial.
The location is concrete: seventh floor, walking pattern, patience. The benefits compound over time as you upgrade gear and brew potions. Treat it as your operational hub from that point forward, fast-traveling in whenever you need to prepare or gear up. With the Room at your fingertips, you’ll feel like you’ve genuinely earned your place as a Hogwarts student, not just surviving the wizarding world, but mastering it on your own terms.


